Business, Client Launches, Creative Entrepreneurs, Interior Designers, Photographers, Showit, Website Design, Website Platforms, Wedding Professionals
When you create or redesign your website, no day is more exciting than launch day! You might want to pop some bubbly (or sip on a Moscow Mule, in my case) to celebrate.
After all of your hard work and decision-making, you’ve earned it!
But let’s rewind for a second.
How do you know when you’re ready to confidently launch your Showit website?
Without a website launch checklist, you might choose the wrong launch date or, even worse, try to launch prematurely without all of your ducks in a row. Don’t worry, I’ll save you from any potential headaches with today’s pre-launch and post-launch checklists.
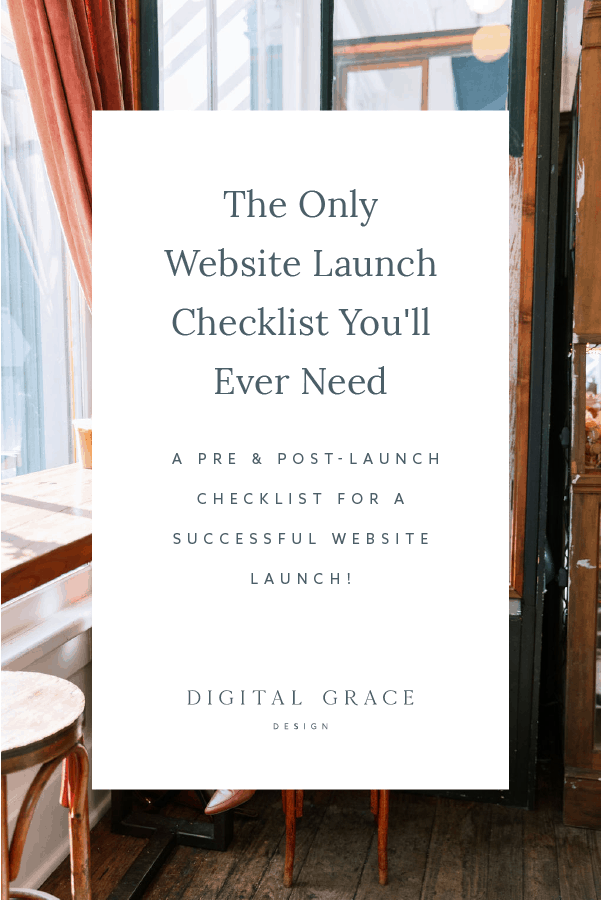
Like to have a paper checklist to actually check off? Me too! Download your checklist here!
Pre-website launch checklist
Before you press the publish button on your Showit website, be sure to follow along with this pre-website launch checklist so nothing slips through the cracks.
In the pre-launch phase, you want to share just enough to get your audience excited about the new website but not too much to take away from your big launch day. Once you set an actual launch date, it’s a good idea to check tasks off this to-do list about two to three weeks in advance.
Here is a good place to start!
Build excitement around your launch on social media
One of the best places to generate buzz around a new website launch is on social media. Since your website will be full of visual appeal, it makes for great content on platforms like Facebook and Instagram.
You’ll want to surprise and delight your social media followers by giving them a small taste of what they’ll see when you officially launch your site. You could choose to share a specific page of your website to get your followers’ feedback, or you might want to show a few branded photos you want them to vote on. You could even show your new logo, color palette, font choices, and more if you don’t want to reveal the website quite yet.
The more your social media followers feel like they are a part of your launch, the more excited they will be. This will likely increase how many followers share your website after it launches and congratulate you on your launch day, which is fantastic for improving your social media engagement.
Let these social media ideas spark your next brainstorming session:
- Social media giveaway to celebrate your launch
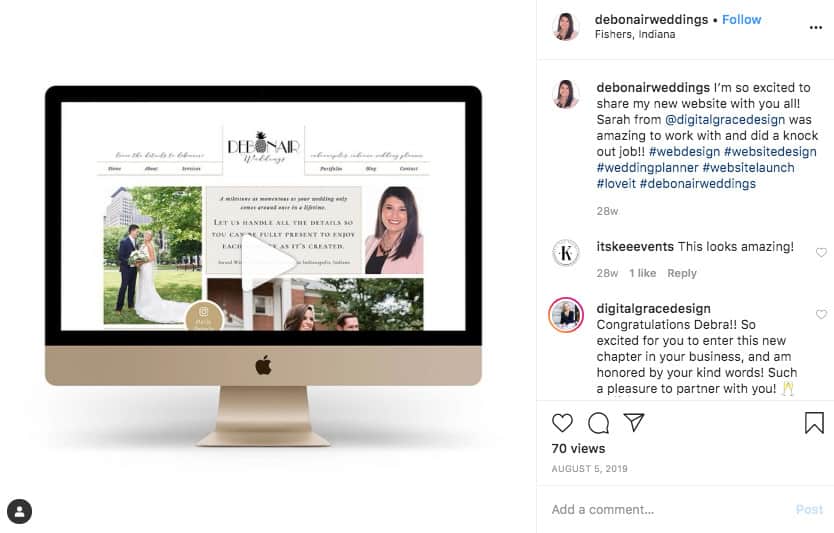
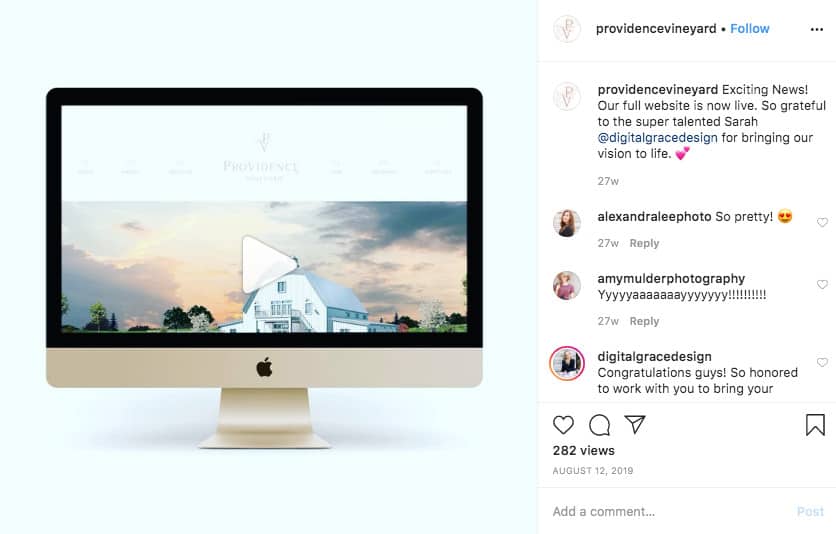
- Website preview mockups (like this or this)
- Instagram story graphics and videos
- Facebook Live videos with a website reveal
- Instagram takeovers for related brands
- Social media challenge with a launch-related hashtag
- Facebook group poll to vote on website-related topic
- Pinterest post or tweet that links to a blog post about the launch
Give a behind-the-scenes look through a blog post or video
Before you launch, it might be a good idea to write a blog post or record a video that allows you to show what it’s been like to put together your website. People love getting a peek behind the curtain during a website launch!
Consider how much you want to share about your website design process before you officially launch. Only you can decide what feels best to reveal.
Usually, I recommend my clients share more about what it was like to make strategic decisions during the website building process. It makes for content that’s very easy to write and it also gives people an exclusive look at the “why” behind every choice you made.
If you decide to create a YouTube video, you could reveal one page of your website ahead of time using a screen sharing tool like Loom. If you want to keep your website more of a secret, you could record a vlog instead that shares your experience of building a new website.
Make sure your content is educational, entertaining (in your own unique way), and valuable to those who are watching. That way, you’ll be able to build anticipation for when you finally launch your website.
Share the website launch announcement with your email list
Your social media followers and blog readers will love hearing about your website launch, but your email list is typically your most engaged audience. This is because people have to opt-in for your email list so every subscriber has already made it clear they want to hear from you.
When you announce that you’re about to launch your website, write a personal note to your email subscribers explaining why you’re excited, what they can expect from your website, and the lessons you’ve learned along the way.
I recommend sharing an announcement email any time you launch something new. Flodesk makes it super easy to create beautifully designed emails with their announcement email templates. Seriously, all you have to do is upload your own photos and content before you send the email to your list – it’s so easy! Learn more about why I love Flodesk here.
Post-website launch checklist
With your website successfully launched, it’s time to move into the post-launch phase of your project. When you work with a Showit website designer like me, you’ll have a personal guide through the whole post-launch process.
To give you more peace-of-mind after launching your website, let’s start with the most important things left on your to-do list.
Update your URL and visual branding (if it changed)
If you just launched a new website or went through a rebrand, it’s important to make sure you update your website URL wherever it’s listed.
You may need to change your URL on these sites:
- YouTube
- Google My Business page
- Listing sites (like The Knot, WeddingWire, etc.)
It’s also a good idea to set up a redirect from your old URL to the new one. Here’s a Showit-based tutorial to help you do just that. Keep in mind that the URL redirect process may look different depending on where you bought your domain.
This process can seem a little confusing at times so you might want to call on your website designer or developer to give you assistance. I help all of my clients with this process inside my full-service website design experience so they don’t have to learn how to do it on their own.
Along with rebranding your business, you’ll also want to update your logo and any other visual branding elements. Don’t forget to also include the new visual branding in your CRM platform (I recommend using Dubsado for this) so your contracts, invoices, proposals, and forms all have the same cohesive look.
Add Google Analytics to your website
Now that your website is live, you’ll want to track how well it’s performing.
With a tool like Google Analytics, you can set specific goals and see how effective your website is in reaching them. You’ll also be able to access audience demographics, real-time data, and track conversions.
All you need to do is sign up for a Google Analytics account and locate your Google Analytics ID. It should look something like this: “UA-000000-01”. This easy-to-follow tutorial should help you input your unique Google Analytics ID into Showit.
Submit your website to Google Search Console
You’re not done with Google-based tools quite yet. After you’ve inputted your Google Analytics ID code into Showit, you’ll want to submit your URL to Google Search Console. This tool will help you claim ownership over your website and allow Google bots to crawl your new website to see any changes.
This tells Google your website has pages that are ready to be indexed, meaning they’re ready to show up on search result pages. You want this to happen because it means your SEO efforts could pay off if you’ve optimized your website for search engines.
Learn more about how Google Search Console works before you take steps in getting started with submitting your website. When I’m your website designer, I can always answer any questions you have in the process.
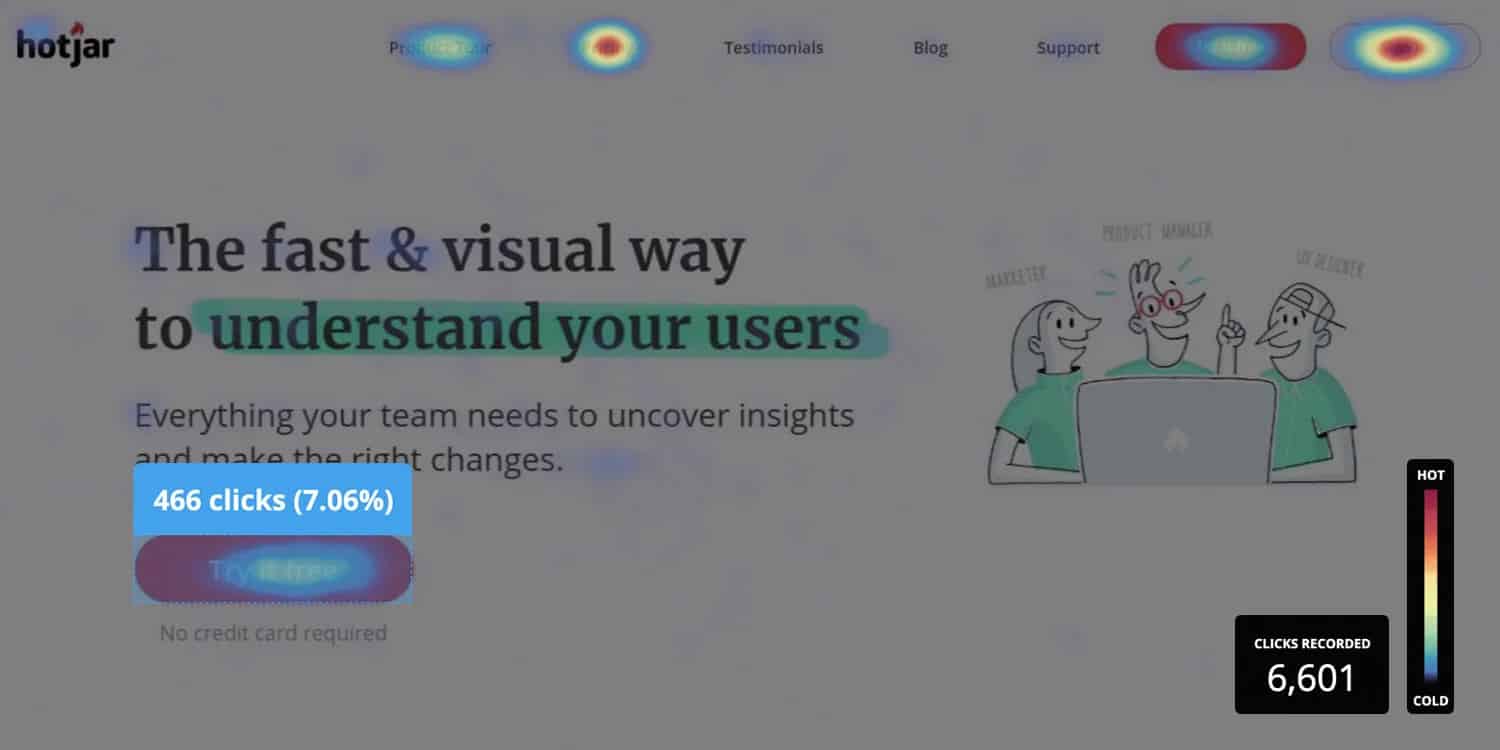
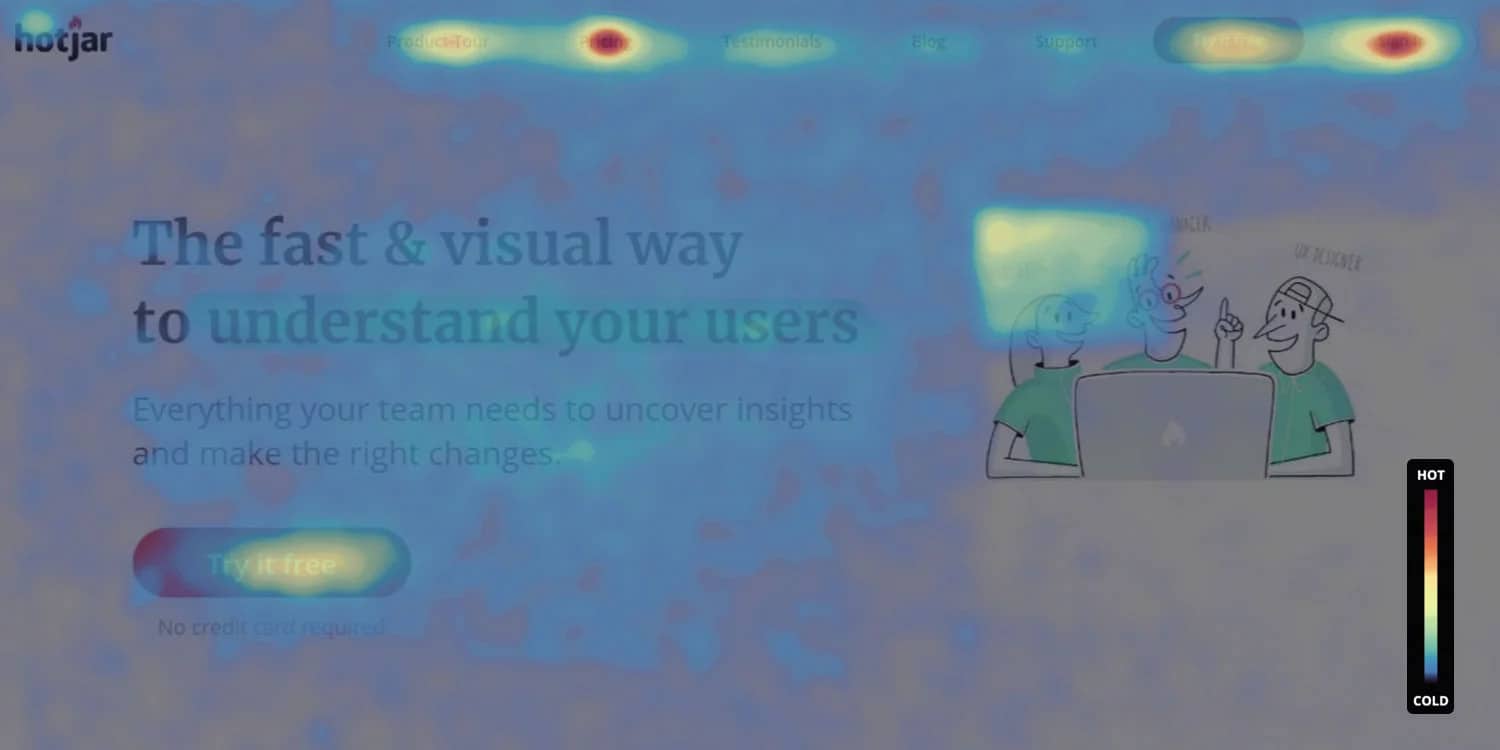
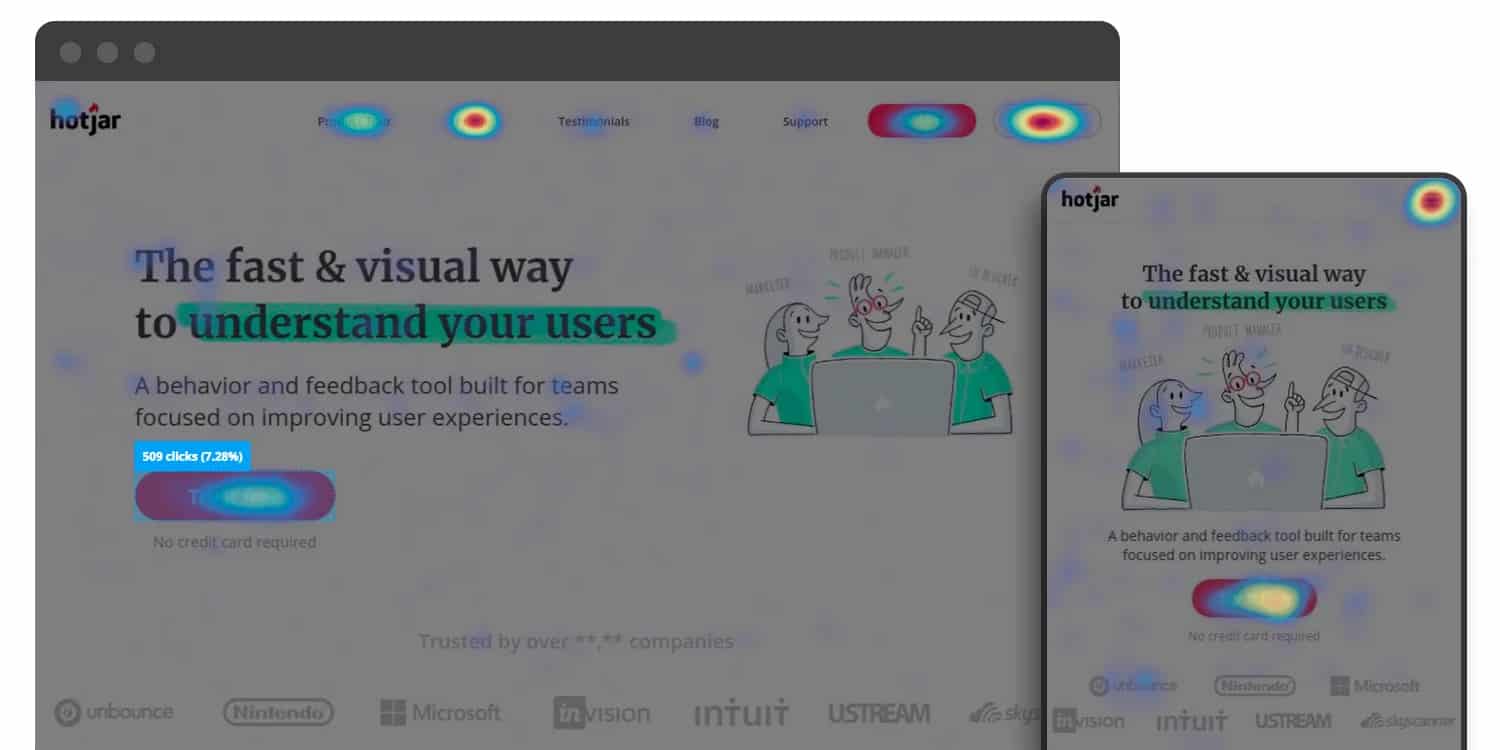
Make website tweaks with Hotjar
Once you’ve created and launched your website, you don’t want to set it completely on autopilot. Sure, it’s great to automatically generate new leads through your Showit website, but you’ll want to regularly check in to see how it’s really performing.
One of the best ways to assess how well your website is working is by using a heat mapping tool like Hotjar. These heatmaps will monitor your audience’s activity and behaviors so you understand where people are getting stuck on your website.
How well are people engaging with your call-to-action buttons? Do they scroll to the bottom of your website page before clicking, or do they tend to only scroll halfway? The answers to these questions and more can be found when using Hotjar.
Click Heatmaps
Move Heatmaps
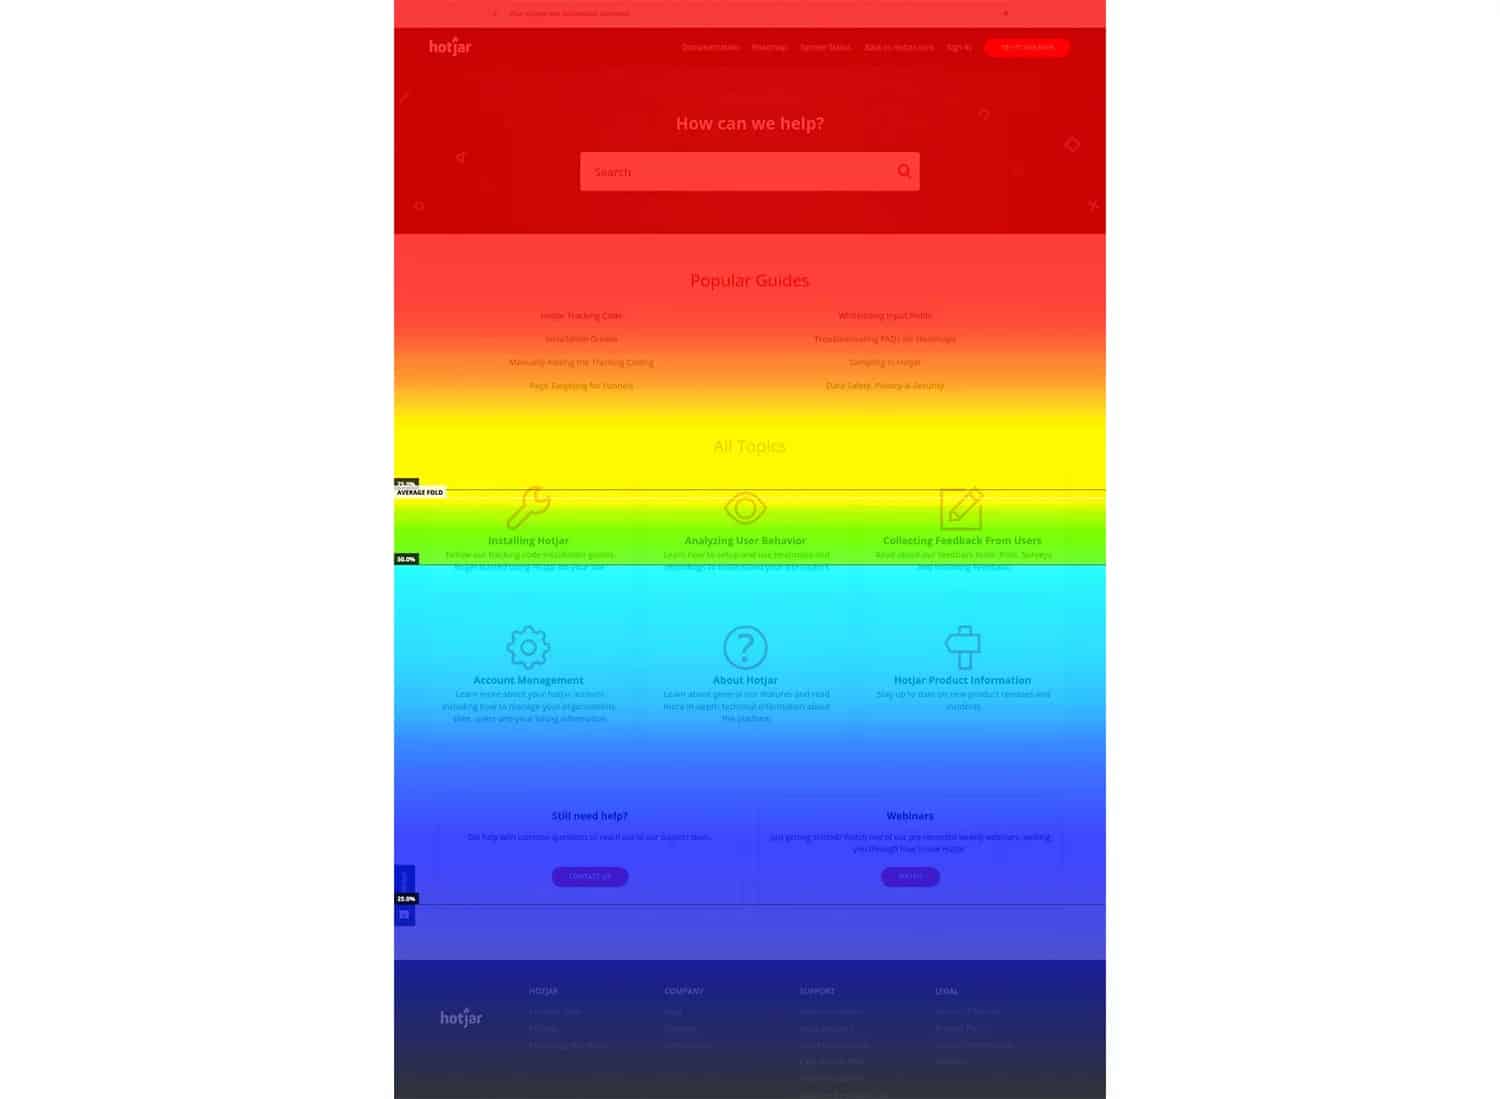
Scroll Heatmaps
Desktop and Mobile Heatmaps
You’ll get feedback and heatmaps from real users who are interacting with your website. It’s pretty fascinating! You always seem to find something different than you would have expected, or at least that’s been the case with my clients and even with my own website. Try it out today for free.
This is a more advanced strategy for entrepreneurs who really want to improve their website analytics over time, but it’s definitely worth doing. Best of all, it helps you stop second-guessing what changes you should make to your website so you can confidently evolve it on a 6-12 month basis.
Watch tutorial videos to update your website over time
Some website designers (myself included!) will close your website design project by creating website tutorial videos you can follow at a later date.
These personalized video tutorials will give you step-by-step instructions on how to access the backend of your website so you can make any necessary edits on your own. You’ll want to save or bookmark the video links so you can refer back to them when you may need them.
I recommend making small tweaks to your website any time you:
- Rebrand or refresh your business
- Choose a different niche or industry
- Pivot who your ideal client or buyer is
- Launch a new offering
Overall, you should think about making any small updates that are necessary every three to six months, depending on how quickly your business grows over time. Be proactive with this step so you always feel like your website is an accurate reflection of your business.
Time to Celebrate a Showit Website Launch of Your Own?
If you’ve looked up this blog post and read through it to the end, it likely means you’re about to launch or recently launched a new Showit website of your own! If so, congratulations! It’s a huge accomplishment and I can’t wait to see where you grow your business from here with the help of your new website.
If there are any questions I can answer about the launch process or if you’re looking to embark on a Showit website design process and are looking for a designer, please don’t hesitate to reach out! I’d love to help.
Don’t forget to download your FREE website launch checklist below to ensure you don’t miss a thing come launch time!