
Creative Entrepreneurs, Interior Designers, Photographers, SEO, Showit, Tips & Tricks, Website Design, Wedding Professionals
Remember when blog sidebars were cluttered with distracting advertisements and overwhelming offers, all because bloggers wanted to monetize their site?
Now, most bloggers take a simplified approach to designing their blog sidebar.
Since less is more, it’s not about how much you can fit into your blog sidebar and more about the value you can add.
If you’re unsure of where to start, let’s cover the six most essential elements to add to your blog sidebar. Then, we’ll give you a few advanced strategies you can use to increase clicks and keep readers on your blog longer.
Essentials for your blog sidebar
Using a sidebar will allow you to not only introduce yourself to new readers but also help to reduce your bounce rate.
Since your bounce rate shows the percentage of people who leave your website after only seeing one page, it’s important to lower your bounce rate over time.
You’ll want to do everything you can to keep people clicking and scrolling through your website. Today, we’ll be talking about how to use your blog sidebar to accomplish these things.
Your website template may already come with a sidebar you can customize, or you may need to design one from scratch. No matter where you’re starting from, you’ll be able to use these tips to create an effective sidebar that builds trust and keeps your audience’s attention.
Friendly headshot
The key to properly introducing yourself starts with including a personal photo. This photo is usually a headshot from your most recent brand photoshoot, but you can choose any photo you’d like. Just make sure you include a high-resolution photo so it doesn’t look pixelated.
Even if running your blog is a team effort, you may want to choose a friendly photo of yourself to include in the main blog sidebar. As the blog’s creator, readers will resonate most with you. If you frequently feature other contributors, you can always add other team member headshots to the blog posts they’ve written.
To add a little dash of delight, you can circle-crop your photo or even add doodles, illustrations, or other design features. Nadalie of It’s All You Boo decided to circle-crop her headshot, and you may also notice she is looking to the left, guiding readers’ eyes back to her content. How smart!
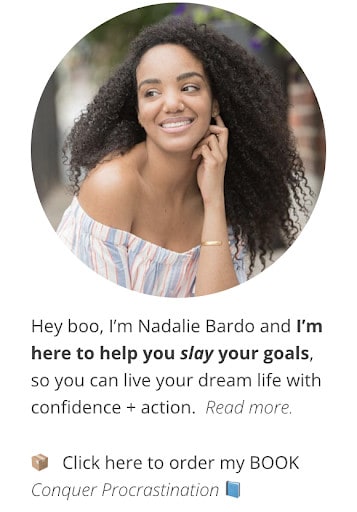
It’s best to choose a headshot where you are smiling, casually laughing, or greeting visitors with a warm expression. Anything that shows you in your element is also great.
Short personal introduction
Once a reader sees your headshot, they’ll want to learn a little bit more about the person behind the blog. You’ll want to give them a small taste of what they’ll learn as they read more blog posts from you.
This is a good place to state your name and explain what you do, who you can help, and how you specifically help them. This should only be one to three sentences so you can spend more time directing people toward other calls-to-action (CTAs) on your site.
In this blog sidebar example from Corry Frazier Photography, Corry shares that she’s a portrait photographer who is located in North Carolina but doesn’t stop here. She also mentions her love for essential oils and how she is a military wife.
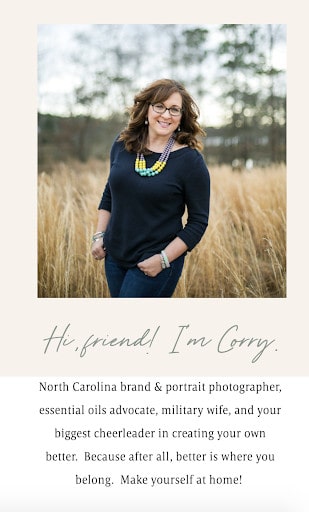
With her blog sidebar, she can deeply connect with other photographers, client leads, essential oils advocates, and military families. Be intentional about which details you add here so you can attract more readers who will love your content.
Email opt-in form
With a full understanding of who you are, it’s time to turn the reader’s initial interest into an opportunity for conversion. Instead of asking them to buy one of your products or visit your Services page, try embedding an email opt-in form to your blog sidebar.
Also called an email sign-up form, this form can help you grow your email list using the blog. When someone signs up for your email list, it’s best for you to send them an automated welcome email along with a freebie.
By offering something of value for free through a lead magnet, you’ll be able to entice more people to join your list. Becoming known for delivering a lot of value is always a positive thing, so focus on what you give as an incentive for signing up.
For Marianne of Design Your Own Blog, giving exclusive access to multiple freebies in her library seemed like the best lead magnet opportunity. You can do the same if you’ve already created many checklists, worksheets, templates, and more.
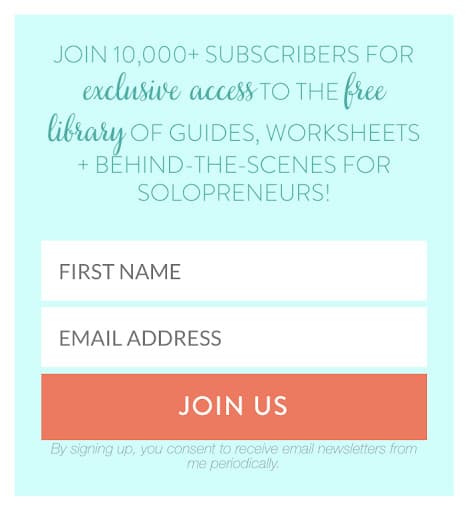
I also like how Marianne includes how many people are currently subscribed to her list. This makes the newsletter look more trustworthy and shows how other readers have already found value in her library. As you grow your email list, you can use the same strategy in your headline.
List of blog categories
It’s pretty standard to see a list of blog categories in a sidebar. This gives first-time readers a clear picture of the topics you frequently cover on the blog. Also, it acts as a clickable directory they can view to learn more about each broader topic.
Your blog categories should relate to your niche if you’re blogging as a part of your business.
For example, an interior designer might blog about:
- Paint color selections
- Moodboard inspiration
- Home decor trends
- Home styling tips
- Textures and patterns
- Home staging advice
Then, looking at the topics above, you may be able to find a broader “content bucket” for them to go into. For example, a larger blog category like “home design” could include paint color selections, home decor trends, and more. You can complete this same exercise for your business.
If you find yourself blogging about many things, you may want to follow this example from Erin of Design for Mankind. While she’s narrowed down a few select categories, they’re grouped in three bigger categories: People, Places, and Things.
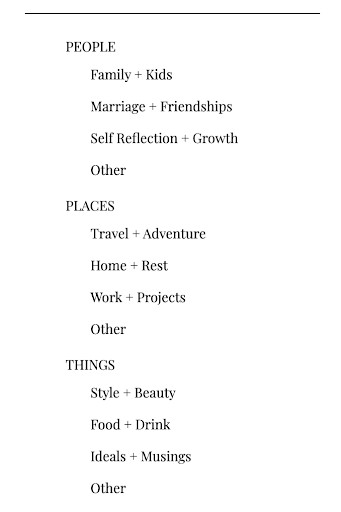
No matter what kind of content she produces on her blog, it will always fit into one of these main categories. While I usually recommend choosing around five main categories for your blog, you can select as many categories as you need to be effective.
Social media links
Outside of the blog, how can people get in touch with you? Most bloggers like to include links to their social media accounts so they can communicate with readers more often. This is very easy to add to your blog sidebar, and some website templates already include them in the design.
If you want to take this recommendation a step further like blogger Raelyn Tan, you can include social media icon badges along with the number of followers you have on each platform. This shows your audience how large your following is at a quick glance.
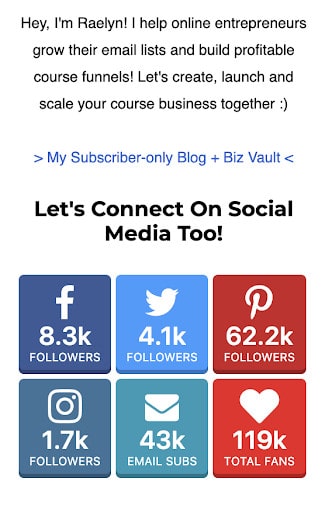
While Raelyn’s following on Instagram and Twitter aren’t as high, it’s awesome to see her strong list of email subscribers and Pinterest following. Showing exact following numbers may not be a great strategy for those who are building a brand from the ground up, but for those who have a sizable audience, it could be a great way to show off your community metrics.
Search bar
To make it easier for readers to search for exactly what they’re looking for, think about including a search bar. If someone is looking for tips on a specific subject, they can type in a series of keywords and see if you’ve written on the subject before.
Sam from Financial Samurai has been blogging for over a decade, so you can imagine how helpful it is to have a search bar on his blog! With such a large archive of blog posts, including a search bar functionality to the blog sidebar is crucial to helping Sam reach more readers, no matter what or when they’re searching.

Now that you’ve heard about the most essential elements to include in your blog sidebar, let’s take it a few steps further. You may want to add these other high-level elements to your sidebar!
Go above and beyond with your blog sidebar
The next blog sidebar strategies aren’t required, but they can help you accomplish a lot in such a small amount of space. If you want to use your sidebar wisely, you may want to think about incorporating these tips into your blog.
Affiliate links
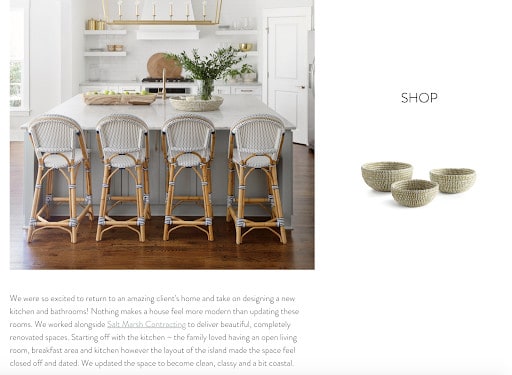
Like interior designer Megan Molten, you may want to consider including a list of links or photos that show off a collection of affiliate products.
Affiliate marketing is a great way to make more passive income as a service provider, so if you’re planning to use your blog to increase your revenue, this strategy could help.
Most popular posts
Like Lindsay from Pinch of Yum, it may be helpful to share a curated list of popular resources from your blog. Some website plugins pull these resources on your behalf, but you can also do this work yourself.
Simply look at your website analytics and determine what your highest performing blog posts are. Then, pull the preview photos from these blog posts and include a link to each post in your sidebar.

Related blog posts
Like Copyblogger, you could pull the most relevant blog posts for each topic to include in the sidebar. However, this should be updated for each blog post to ensure it stays relevant.
Again, you may be able to use a website plugin to do this work for you. That’s the beauty of using Showit to build your website because you’ll still get to use WordPress for blogging and plugins. It’s basically the best of both worlds!
Now you have everything you need to create a fantastic blog sidebar for your website!
By following this step-by-step guide, you’ll be able to make a great impression with your audience, no matter if they’ve been loyal readers already or they’re brand new.
Happy creating!


