Creative Entrepreneurs, Interior Designers, Photographers, SEO, Showit, Website Design, Wedding Professionals
When you begin to envision your website, do you often find yourself daydreaming about how it will look? If you’re like most people, you said YES!
This makes my designer heart happy, but there’s a lot more to your website than simply how it looks. If you have stunning designs without any text to explain your message, you basically have a photo gallery instead of a true website.
The imagery you include in your website is there to capture your audience’s attention, but the content you write will keep their attention. That is, as long as you write with your dream client in mind.
That’s why designers and copywriters agree that your website content is just as important as your design.
If you aren’t sure where to start, don’t worry. Many service-based business owners feel the same way. Sometimes it’s easier to know what you visually gravitate toward than having the same sense of direction with your copywriting.
Consider this your guide to writing the core elements of content you need to strengthen your website, no matter if you invest in a professional website content writer or decide to DIY your own content.
The core elements you need to make an impact with your website content
Before you write your website content, let’s take a step back to think about the goals of your Showit site.
Do you want to book more dream clients by sharing your work on your site? Do you want to grow your email list so you can sell your services and digital products? Maybe you have another goal entirely.
No matter what it is, it’s important for you to make sure ALL of the website content you write leads to this main goal. With your goal in mind, let’s cover the main elements you need in order to get started with writing your website content.
Trust me, it’ll be easier than you think!
Headlines
Most of your visitors will be greeted by a main headline when they land on your website. Did you know that five times more people will read your headline than the main content of your website? That means it needs to stand out!
Your headline will often be a sentence or phrase that communicates the main goal or benefit of your brand in a clear and concise way. A headline is meant to be thought-provoking and intriguing, giving your audience a small taste of what they can expect from you.
Some brands decide to use their headline to feature a clever, witty tagline or something similar to entertain their audience or create more mystery. If you want to do something similar, make sure you include a subheadline that clearly states what you do so people aren’t confused when they continue to read through your website content.
For my headline, I wanted to clearly explain what my design studio offers and what the main benefit is for clients who work with me. The headline “We design websites that turn passive visitors into passionate clients” was born from this purpose.

If you aren’t sure where to start, you can test out these website headline formulas and create a few variations. From there, try to narrow it down to your favorites until you find the winner. Get creative!
Mission statement
While some service-based business owners think a mission statement is one of the hardest things to write, it can actually be the easiest if you know what to include! You don’t need to come up with something that’s flowery or overly complicated.
Your mission statement is meant to be a simple sentence that explains who you are, what you do, who you serve, and exactly what you offer them. Seriously, that’s it!
I’ll show you what this looks like in action with my own mission statement, which can be seen on my About page:
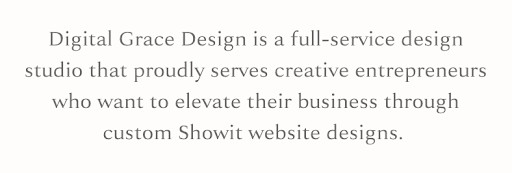
You can use the same mission statement framework to create one for your own brand:
[Your company name] is a [title or studio type] that proudly serves [ideal client] who want to [the goals they want to achieve] through [what services you offer].
Personal introduction or bio
Now that you have your mission statement and some headline variations, it’s time to dig into the section that makes many service providers groan while writing it. Yup, I’m talking about your bio!
Most people say they don’t like writing about themselves because it feels awkward, but I have a few tips to help you out. The first one is to think about what information you want to include in your bio.
You can start with these prompts:
- What inspired you to start your business?
- How long have you been in business for, and how has it evolved over time?
- What is the passion behind your business?
- What are your core values both in business and in life?
- How do you want to be remembered, and what do you want to be known for?
You might also want to include any significant information about your professional or academic background, awards you’ve earned, certifications, or experiences that have shaped you into the person you are today. Don’t be afraid to get a little personal! Your website visitors will love having a chance to connect with you.
While answering these prompts may feel easy, the harder part might be putting all of the details together and telling an interesting story with your bio. I hear you!
One of the best ways to overcome this obstacle is to look at other bios to get inspiration. You can look at their flow and get an idea for how you’d like to tell your own story. Remember, your main goal is to give your audience a better understanding of why they should work with you based on your background, passions, and expertise.
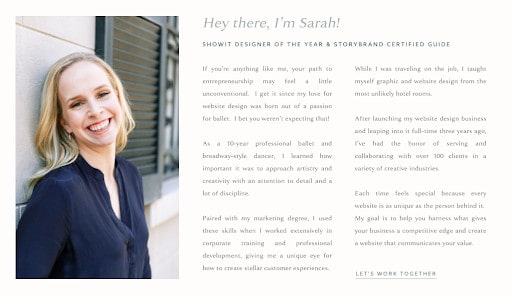
For inspiration, you can see my bio below (which explains how my 10-year career in ballet relates to my decision to launch a Showit website design business – fun, right?) but I’ve also included a few more bios from past design clients who did a great job with their own:
- Cari Long Photography’s bio
- Allie Atkisson Imaging’s bio
- The Holistic Mrs. bio
- Andi Bravo Photography’s bio
- JH Events’ bio
- Lindsey Drewes Photography’s bio
Recommended reading: How to Write & Design a Lead Generating About Page (with an exercise to help you write your own bio!)
Call-to-action (CTA)
Call-to-actions are important because they direct website visitors through your website and tell them where to go next. As someone explores your website content further and further, they’ll continue to build trust with you. This increases the likelihood of turning them into a client lead!
It’s best to have ONE main call-to-action for each page of your Showit website. However, your homepage may include more because it acts as the central hub of your site. Think of it as the main directory to point website visitors in the most important direction based on their needs. Otherwise, stick to one CTA per page.
After scrolling through my website, you’ll notice my main call-to-action is “Start Your Project.” This is why you’ll see it in my website navigation and sprinkled throughout my website pages.
To make this CTA stand out even more, I’ve included multiple call-to-action sections on my website to make sure my visitors aren’t confused about where to go next. The styled photos catch each website visitor’s attention and the action-oriented language wins their trust and clicks.

While I recommend having a primary call-to-action, there may be other pages where you can add a secondary CTA. For example, on my Services page, nearly every link goes directly to the Contact page since it’s the main place I want people to go (so they can fill out my contact form and we can chat about their project, of course!).
I did, however, decide to include the secondary CTA language of “Schedule a Free Discovery Call” to ensure client leads who might be on the fence have an easy way to get in contact with me. When clicked, it opens my Dubsado appointment scheduler so people can quickly sign up for a time to meet with me to chat about their project. I’m all about making the process simple and streamlined!

Both have the goal of helping client leads feel more comfortable and confident contacting me, so these call-to-actions work.
Lastly, just make sure you outline your website’s structure and understand how you want to design your website navigation before you set these CTA goals.
Other website content you may need
While these are the main content sections you’ll need for your Showit website to pack a punch, you can also include these other pieces of copywriting. Each section will help your audience learn more about what you offer and how it can help them.
As a service provider, you’ll probably want to create a separate page on your Showit website to introduce your services. If you have more than one, include a comprehensive list of your capabilities to give clients an idea of what kind of projects you’re available for.
Tip: When possible, create a separate page for each service for better SEO opportunities. For example, if you offer interior design services, you may want a separate page for interior design and another for home staging so you can try to rank for both services.
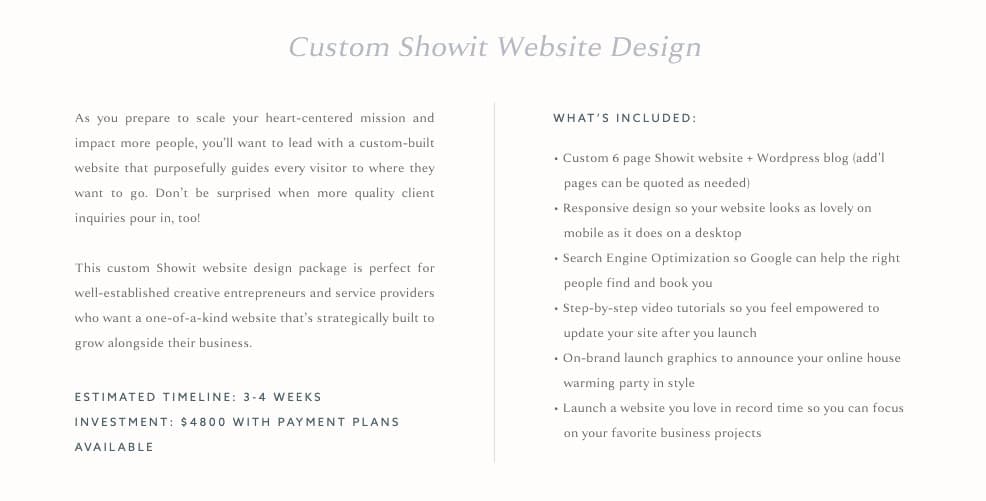
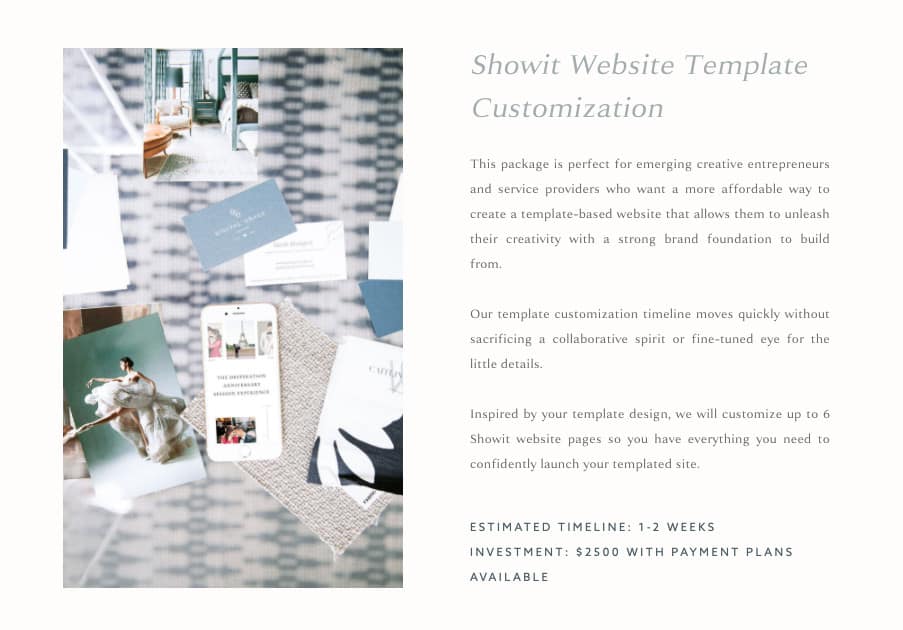
If you have a set of packages you typically offer client leads, it’s best to feature a breakdown of your main packages on your website. I usually recommend including the estimated timeline and minimum pricing when you include packages so your audience knows what each investment looks like.
You may also want to include a step-by-step outline of your process to give potential clients an idea of what it looks like to work with you. This way, they know what to expect and if they’re ready to invest their time and money into your services.
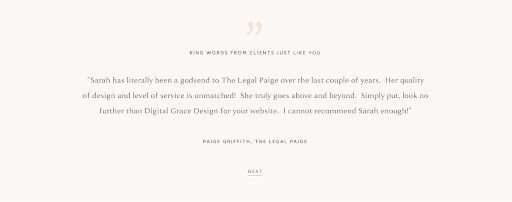
You’ve included a few key pieces of website content so far, but you don’t want to forget testimonials from past clients. It’s one thing for you to say you’re an expert, and it’s another for someone else to say it in their own words. Be sure to include at least three to four testimonials throughout your Showit website when possible.
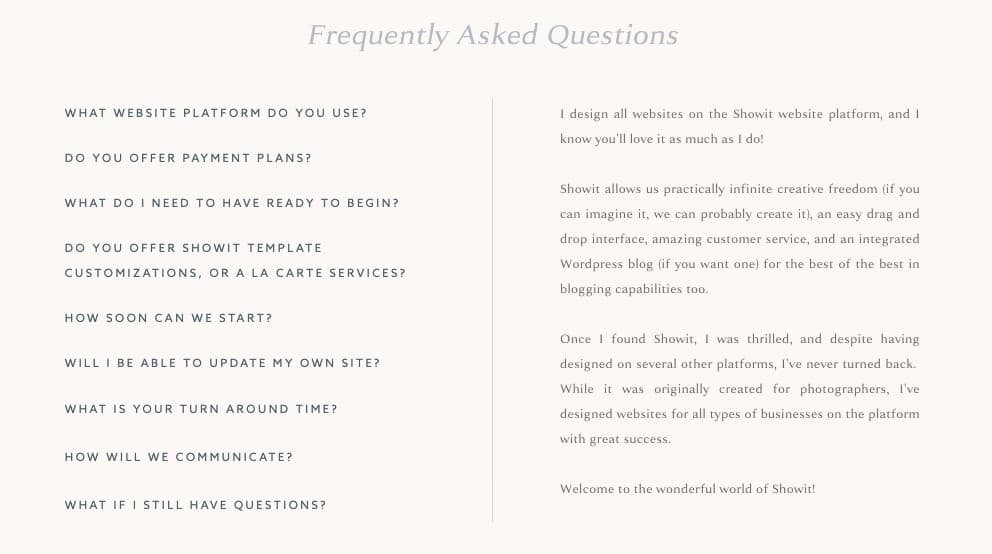
If you find yourself having to answer the same questions over and over again, it might be time to add a frequently asked questions (FAQs) section to your website. Then you’ll be able to cut down on the amount of time it takes to email new leads back and forth.
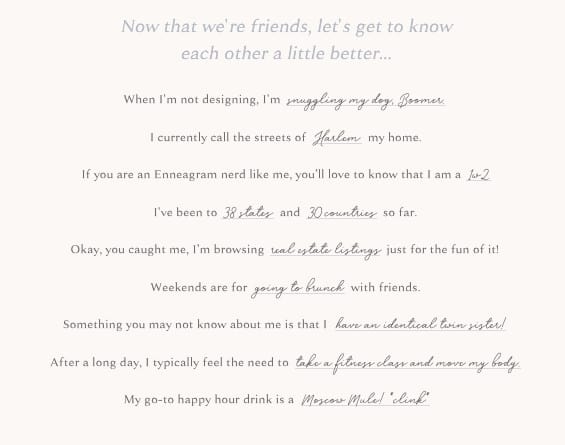
To sprinkle in a little bit of extra fun and pizazz, you could include a list of personal fun facts. I did this through a fill-in-the-blank style format, but you can create a bulleted list or even a completed quiz!
Now I’ve given you enough information to start writing your website content. I always recommend completing the copywriting stage of your website before you dive into the design. This allows you to make sure your messaging is perfected so you can fit the design around it, rather than trying to cram your copywriting into a good design.
I can’t wait to see what you come up with!
