Does creating blog content always fall to the bottom of your to-do list?
You aren’t alone! So many entrepreneurs struggle to make the time to blog consistently.
Of course, everyone wants to reap the benefits of blogging—like better SEO and increased conversions—but who has the time for all that work?
It’s easier to make room for blogging when you follow a framework that takes you from start to finish.
If you’re ready to write blog posts with long-lasting value, let’s cover how to create optimized content in a fraction of the time.
I’ll break down everything you need to create before you start writing and what you need to gather after you finish writing the article. Let’s start with the prep work!
What you need before you start writing
So you want to write a new blog article. If you feel like this process usually causes brain fog and headaches, I’m here to help. Instead of leaping into the writing process, let’s take a step back and look at what you should nail down beforehand.
Choose a topic
First things first, you’ll need to have a topic in mind before you prepare to write a new article.
Ideally, your topic will be focused on something that’s related to your niche or industry. This is your opportunity to add something new to the conversation!
I recommend keeping a spreadsheet of blog post ideas so you can pull from the list whenever you need to explore a new topic. Here’s a sneak peek of my own blog topic spreadsheet:

Once you have a list of blog topics, think about how you want to organize them and when you want to schedule them on your blog. Proactively writing down your ideas will help you leverage your creativity anytime you have a topic in mind rather than feeling like you have to force it later on.
Select a keyword
Now that you have a topic in mind, you’ll want to do some keyword research. This is especially important if you want to improve your blog’s SEO.
For example, if I was writing a blog post on writing a bio for your website, I’d want to see how other people are searching for this content. A quick search on Google will show you some of the top results, like “how to write a bio” and “how to write a bio for a website.”
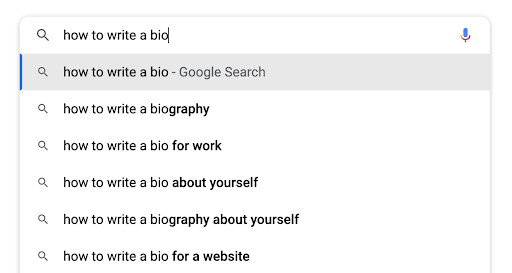
You might also want to invest in tools like Moz and SEMrush if you want to go above and beyond with your SEO keyword research. However, going straight to Google will give you a good place to start.
Create an outline
Once you have a topic and keyword in mind, it’s time to jump into creating an outline. This can be as detailed or simple as you want it to be.
When making your blog post outline, make sure you have a clear introduction, body, and conclusion.
Your introduction and conclusion will usually be around 150-300 words whereas the length of your body content can fluctuate. It might be helpful to set a word count goal for your blog post depending on how in-depth the topic is so you can power through and feel motivated through the writing process.
Let’s use the topic of writing a website bio to walk through the process.
Here’s what a blog post outline could look like:
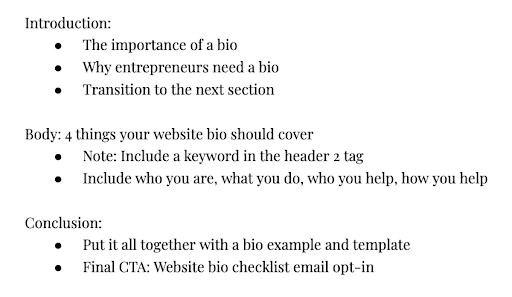
Feel free to change up the blog post outline format if you’d like, but this should get you started.
You may also benefit from doing additional research in this outlining phase. That way, you can include links to other helpful articles on your own website (called internal linking) and other websites (called external linking). This helps with SEO and adds more value to your blog post.
What you need after you write a blog post
After you write, proofread, edit, and finalize the blog post, there are a few things you need before you press publish. That’s what we’ll talk about next!
Keep in mind that all of these elements will help you increase your SEO performance and lead to more website conversions. Who wouldn’t love the sound of that?
Blog title
Some bloggers suggest writing your blog title first, but you may want to change it after writing the article. I usually recommend writing a few variations of your blog title so you can determine which one is best.
Your blog title should:
- Be short and sweet
- Include your target keyword
- Be written for your target audience
- Entice and captivate your readers
If you’re struggling to come up with a blog title, it might help to start with a blog title generator. This will help you unlock new blog title formulas and examples you can use to kick-start your brainstorming session.
Once you write a blog title, you’ll be ready for the next step: writing a meta description!
Meta description
Meta descriptions give you a bit more space to summarize what your blog post is all about. Many bloggers skip over this step, but not having an optimized meta description can hurt your SEO.
SEO experts recommend writing meta descriptions that have between 50 to 155 characters. If your meta description is longer than this character limit, Google may cut off a portion of your summary. That’s why it’s best to keep it within this length.
Remember, your keyword should also be in your meta description.
Here’s an example of how to do this well:

With Showit, your website will be connected with a WordPress-hosted blog. You can easily input your blog title and meta description into the Yoast SEO plugin to ensure your blog post gets the best value out of your SEO efforts.
Blog graphics
Designing blog graphics is one of my favorite parts of the blogging process! I like using a series of blog imagery templates so I can reuse my designs and save myself hours of time.
When you create your blog graphics, make sure they:
- Are vertically aligned so they’re easy to add to Pinterest
- Include your on-brand color palette and fonts
- Feature your logo or website link
- Are visually interesting and eye-catching
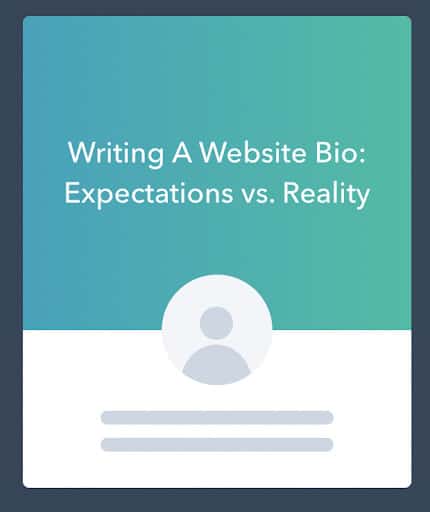
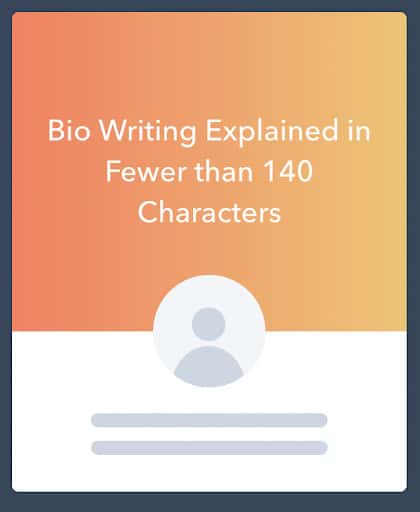
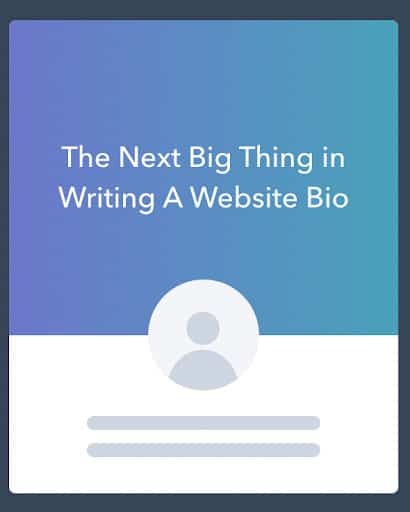
With a blog post topic like writing a website bio, here are some images that could be used to promote and enhance the blog post:
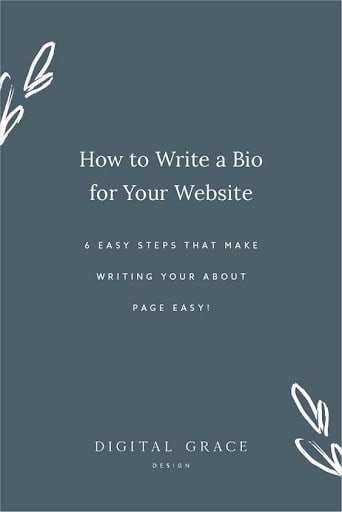
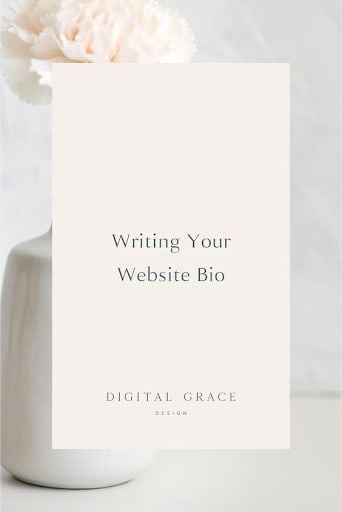
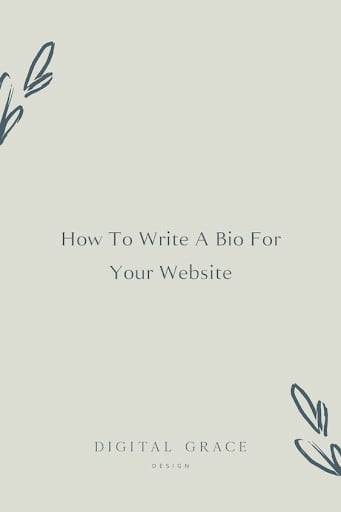
You’ll notice that I varied the colors, illustrations, and copy on all of these variations. If you want to test the effectiveness of these blog graphics, you could add them to Pinterest to see which ones get the most link clicks and repins.
Alt text
For each photo or image you add to your blog post, you’ll want to write accompanying alt text. Alt text, which is also called an alt tag, is used to explain what an image consists of in words.
Alt text makes it easier for search engines to crawl your blog and assess the relevance of your content for their users. It also makes your website more accessible for those who are visually impaired.
Here are a few do’s and don’ts when it comes to writing your alt text:
- DO describe exactly what is seen in the image
- DON’T stuff your alt text with unnecessary keywords
- DO write the alt text in a summarized sentence format
- DON’T use the same alt text for every image
Make sure you don’t skip over this step! Too many bloggers decide to forgo this extra step, but it could be hurting your SEO efforts more than you realize.
You can also go back through your old blog posts and add relevant alt text to all of your images. All you need to do is put on your favorite show on Hulu in the background and see how much you can get done in one sitting!
Call-to-action
Lastly, you’ll want to end your blog post with a clear call-to-action (CTA). You need to choose a single CTA so you don’t give your audience decision fatigue.
The most common CTAs in blog posts are:
- Lead magnets or freebies to grow your email list
- Links to schedule a discovery call
- Links to sales pages or service pages
- Links to social media to increase your following
- Links to other blog posts to decrease your bounce rate
You can determine what the best CTA is based on your blog post topic. Don’t miss out on this opportunity to tell your blog readers what to do next!
Speaking of calls-to-action, you can continue learning about blogging for business with these extended resources on my blog:
- Creating the Perfect Blog Sidebar
- How Many Blog Posts Should I Launch With?
- 5 Easy Steps to Improve Your Blog SEO
- 4 Reasons Entrepreneurs Need a Blog
Enjoy!